
If you’ve ever found yourself mid-project, struggling to locate your yarn cutter or scissors, you’re not alone. When you’re deep into a crochet or knitting session, the last thing you want is to hunt down a pair of scissors—especially if you’re working on a small, portable project or crafting on the go. But what if you could make your own handy yarn cutter, using tools you probably already have around the house? Let’s dive into how you can use scissors (and a few other tricks) to make cutting yarn a breeze!
The Basics: Why Scissors?
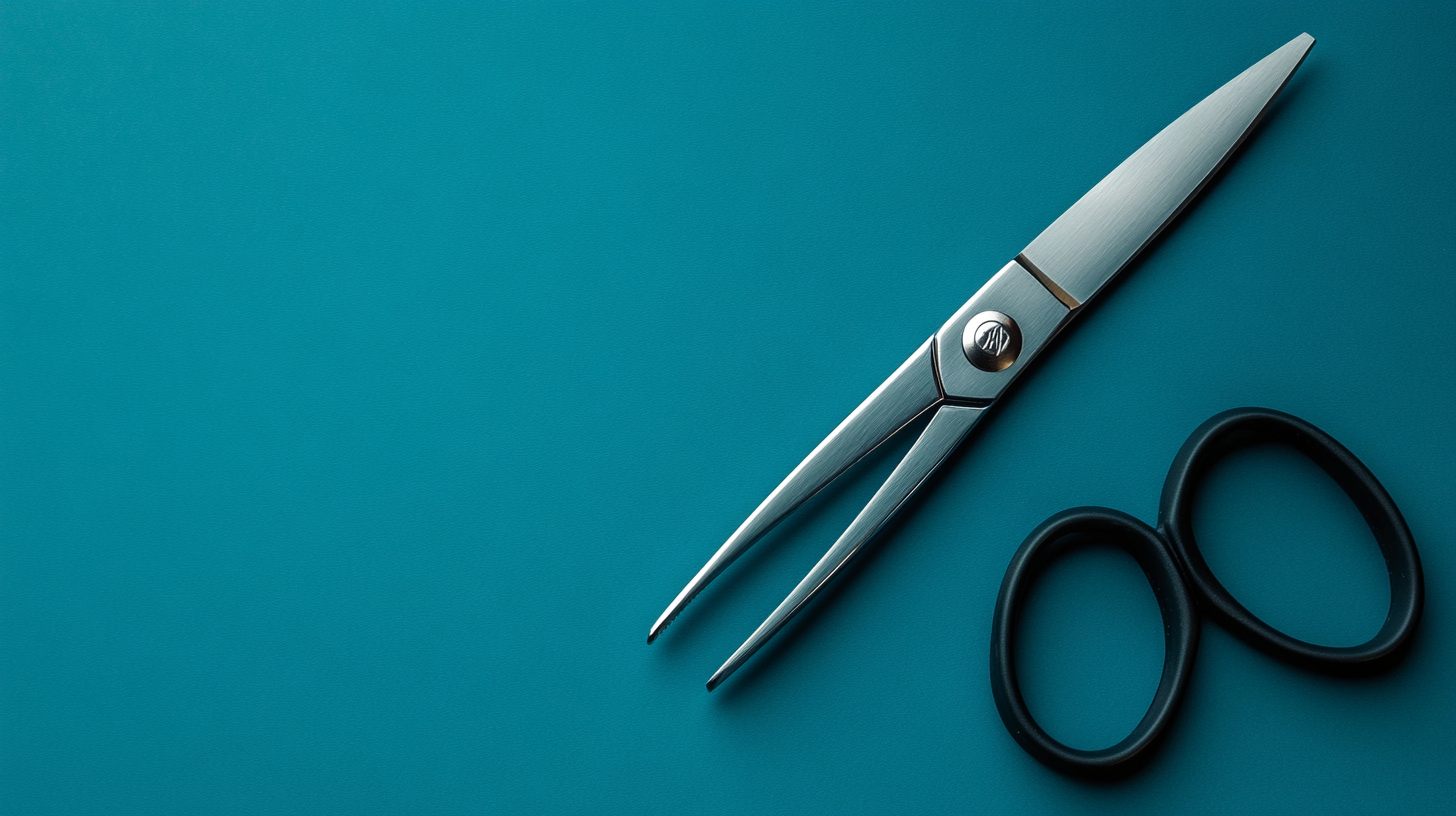
Before we get into the DIY hacks, let’s remind ourselves why scissors are the perfect tool for yarn cutting. Sharp scissors create clean cuts that won’t fray your yarn, which is especially important when you’re working with delicate fibers like cotton, wool, or silk. However, carrying scissors around or having them in a project bag can be inconvenient and sometimes dangerous (hello, accidental pokes!).
So, here’s where the fun, DIY part comes in: we’re going to get creative with how we use scissors—and in some cases, repurpose everyday items to make them more accessible for crochet and knitting on the go.
DIY Yarn Cutter Hack #1: Repurpose a Broken Pen
One of the easiest ways to turn an old, unused pen into a yarn cutter is by using the cap. If the pen has a plastic or metal cap with a smooth edge, you can repurpose it into a mini yarn cutter by simply cutting a small slit along the top. This will create a sharp enough edge to easily cut through yarn without making a mess.
How to Make It:
- Take the pen apart and remove the ink cartridge.
- Using a sharp utility knife or scissors, cut a small slit along the pen’s cap, just enough for the yarn to fit through.
- Test the cutter by gently sliding a strand of yarn into the slit, then pulling it through to see if it cuts cleanly.
Pro Tip: You can also use an old mechanical pencil or highlighter cap for this trick! It’s a great way to reuse items you’d otherwise toss.

DIY Yarn Cutter Hack #2: The Safety Pin Scissors
Not just for holding fabric together, safety pins can double as a mini yarn cutter in a pinch. The sharp end of a safety pin is capable of slicing through yarn—especially if you’re working with thinner or medium-weight yarns. Plus, they’re compact, so they’re easy to keep in your project bag without taking up much space!
How to Make It:
- Take a standard-sized safety pin and open it up.
- Use the tip of the pin to cut through the yarn by placing the yarn between the two metal ends and gently pulling it through.
- Keep a few safety pins in different sizes for variety—they’ll work on both thick and thin yarns!
Pro Tip: The larger the safety pin, the more stable it will be when cutting thicker yarns.
DIY Yarn Cutter Hack #3: The Handy Thread Cutter Necklace
For crocheters and knitters who are always on the move, a thread cutter necklace is the ultimate solution. This DIY project uses a small, sharp blade (like a thread cutter, often used for sewing) that you can turn into a wearable, convenient cutting tool. This way, you’ll always have a cutter at your fingertips without rummaging through your bag.
How to Make It:
- Purchase a thread cutter—they’re small, circular blades that can often be found at any craft store.
- Attach the cutter to a cord or string, making it into a necklace or keychain.
- Wear it as part of your crafting gear, and you’ll never have to worry about missing your scissors again!
Pro Tip: These cutters are often available in keychain form, so you can even clip it to your project bag for easy access.
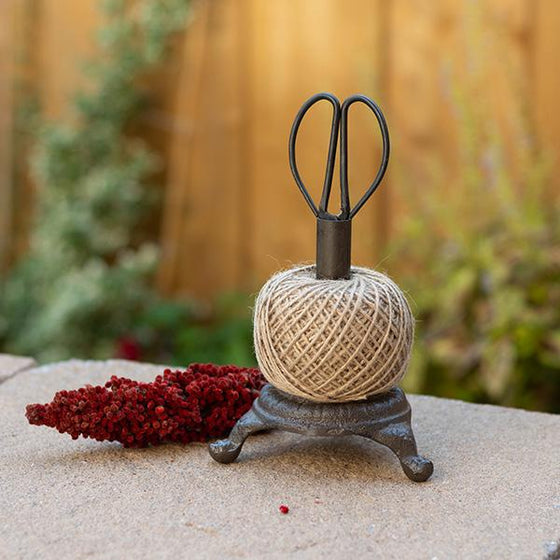
DIY Yarn Cutter Hack #4: Scissors as a Yarn Holder
Now, this is a fun one. You can actually turn your scissors into a dual-purpose tool by using them as a yarn holder while you work! When you’re working on a project, use the scissor blades to hold your yarn in place while you crochet or knit. This is especially useful if you’re working with multiple yarn strands or a colorwork project, as it helps prevent the yarn from tangling up.
How to Make It:
- Open the scissor blades slightly, and place your yarn in the middle.
- Use the scissors to hold the yarn steady while you work, pulling it through the blades to keep it from tangling.
Pro Tip: Use a pair of small, sharp scissors with fine tips for more precise control, making it easier to work with thinner yarns.
DIY Yarn Cutter Hack #5: Cardboard Cutter
Another brilliant way to create a DIY yarn cutter is by repurposing a piece of cardboard or a small box. Just like how a commercial yarn cutter works, you can create an edge that will help slice through your yarn. This is perfect if you’re working on larger, multi-color projects and don’t want to carry scissors everywhere.
How to Make It:
- Cut a small slit along the edge of a piece of cardboard (roughly 1-2 inches long).
- Fold the cardboard in half to create a simple, portable cutter.
- Use it to cut yarn by sliding it between the slit, pulling the yarn through to cut it cleanly.
Pro Tip: You can make several of these, and keep them in different bags or pockets for convenient access.
Final Thoughts: Crafting with Convenience
Using scissors smartly doesn’t mean just relying on traditional cutting tools. With these DIY yarn cutter hacks, you can transform everyday items into convenient and efficient tools for your crochet and knitting needs. Not only do these tricks help speed up your crafting, but they also make your experience a lot more fun and resourceful. Whether you’re crafting on the go or just looking for a handy solution, these easy hacks ensure that you’ll never be without a yarn cutter again.